Larkin Basics June 20, 2017
Get Killer Vintage Hair in 5 Minutes (Seriously)
by Larkin Clark
A version of these tutorials first appeared on xovain.com (RIP).
If there’s one thing people ask me most about, it’s my vintage hairstyles, which have become part of my “signature look.” So although you may have seen these tutorials when I first created them for xovain, I thought I’d re-share them because they’re classic and can work with any outfit. (xovain also recently shuttered its doors, so I wanted to give these tutorials, and the others I created for that site, a new home.)
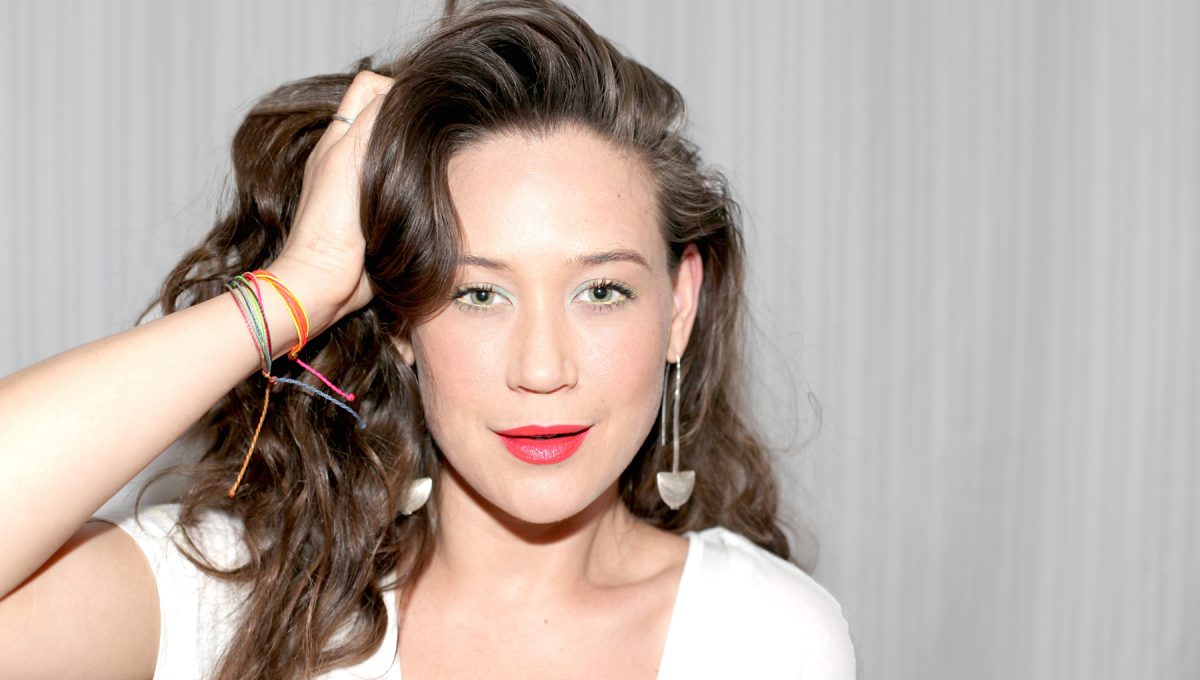
Before we get started, you should know that I am not the chick who spends 20 minutes blowdrying her hair and/or straightening and/or curling it. So, back around 2009, when Snooki put the half-up front pouf in the spotlight again, I started toying with the look on my own. This embarrassing to admit, but you should know the truth.
The initial iterations were basically small bumps made by twisting the front middle third of my hair and pinning it at the crown – a glorified half-up, half-down look. But over time, the pouf got bigger, I got bolder, and eventually I emerged with three go-to vintage hairstyles I wear basically everywhere, even to yoga sometimes. (No, I don’t do headstands.)
I know what you’re thinking: “You tricky bitch! These take waaay more than five minutes to do.” Or, “You tricky bitch! I don’t have enough hair to pull these off.”
Look, I’m not a liar or a tricky bitch. I promise you, with some practice, each of these styles takes no more than five minutes to execute – even if you aren’t a beauty editor, even if you have shorter or finer hair than I do, and even if you’ve never wielded a bobby pin in your life and have no idea who Bobby is and why he has pins named after him.
You will be fine – just follow these step-by-step tutorials and watch the magic unfold. (And scroll down for the key takeaways, in case you’re too lazy to actually try the styles and just want to sound like a hair expert with your friends.)
These styles turn out a little different on everyone, but that’s the point: To find a cool new look that’s 100 percent your own. Yes, they are trickier on fine hair and don’t work on hair that’s shorter than collarbone length, but my hope is there’s some inspiration here for everyone – that little spark that sends you off to experiment.
Now, get your your bobby pins and hairbands. Let’s roll.
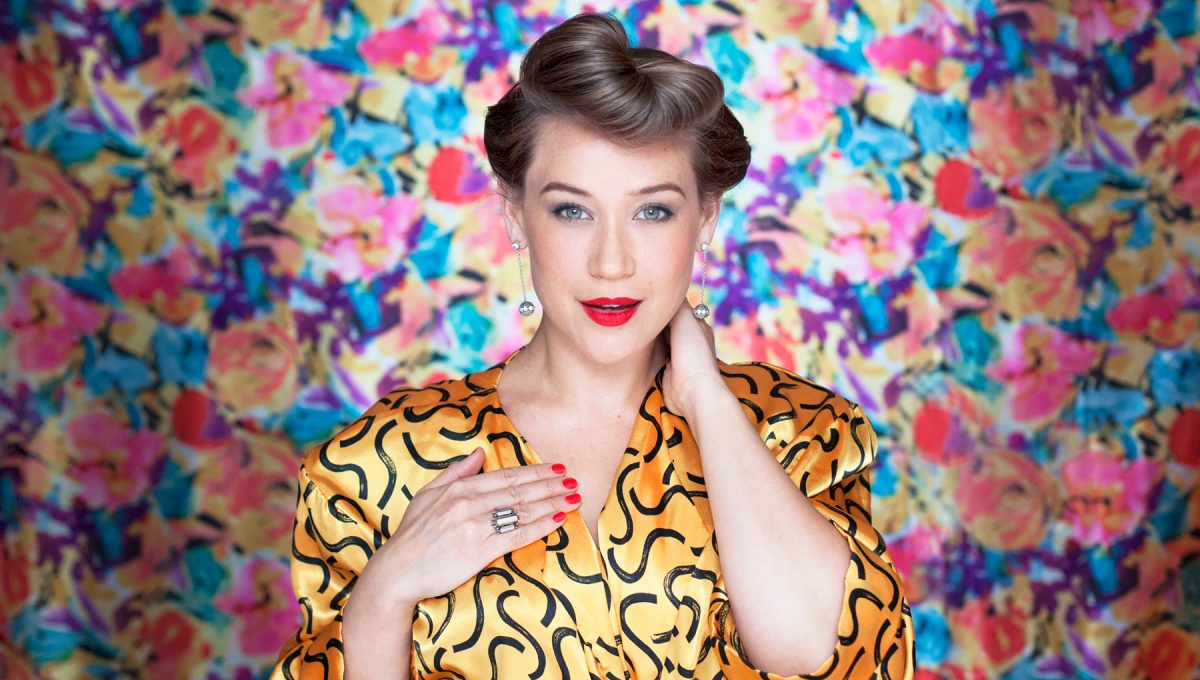
The Come-Hither Front Twist
Work, wedding, or lounging around the house, this quick updo says, “I’ve got style, son.” Start the tutorial →
Step 1 | Gather the top part of your hair and pull it back toward the crown of your head
You don’t want to do a full “half up, half down” style here; it’s a little less than that. To gauge how much hair to gather, find your eyebrow arches and then move directly up to your hairline on each side of your face. That’s where you should part the hair. Twist the top part of the hair 1-2 rotations.

Step 2 | Push the twist down so it’s flush with your scalp and slide it forward
The twist itself should be around your hairline. A little pouf will naturally form in front of it. Secure the twist in place by pushing pins into it. You can stop here if you want to wear your hair down, which I often do.
Step 3 | Roll the remaining hair on each side of your head up and back behind your ears
Push each roll forward a little bit before pinning so you get some volume. Gather the hair in back into a bun and secure with pins.

Step 4 | Tuck in any loose hairs and spritz with fine-mist, super-hold hairspray
If you prefer to use traditional and not aerosol spray, spritz far away from your head and make sure to not overdo it, as too much spray can make the twist fall flat.
The Sophisticated Side Twist
I think women with super short hair are badasses. Until I'm brave enough to make the cut, this style gives me a taste of that badassdom without the commitment. Start the tutorial →
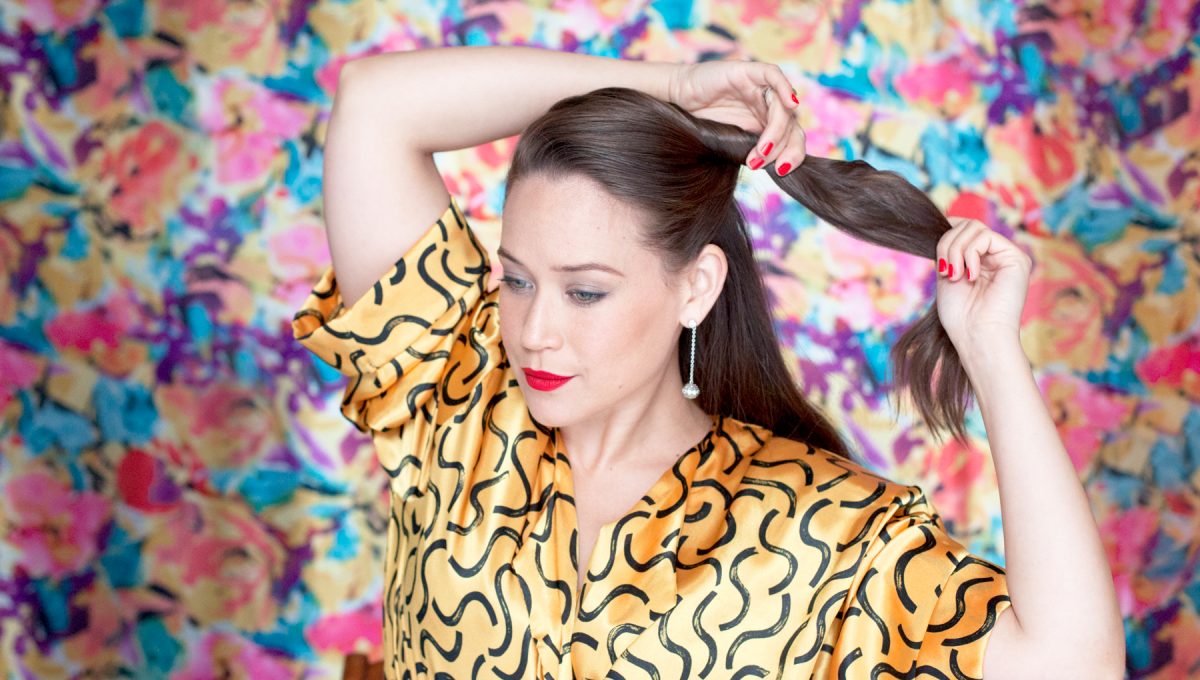
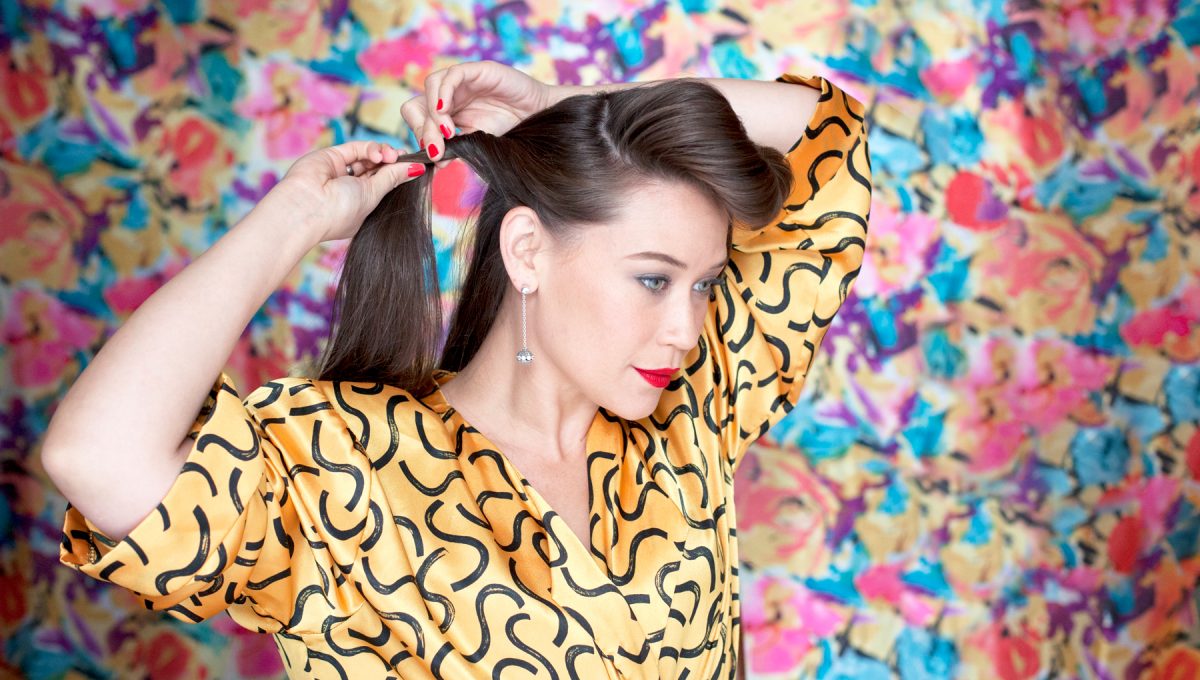
Step 1 | Gather the top half of your hair up and pull it back toward the crown of your head
Pull that section slightly over to one side, making sure the tail is about two inches above that ear. Twist the base of the tail forward one to two rotations, depending on how long your hair is.
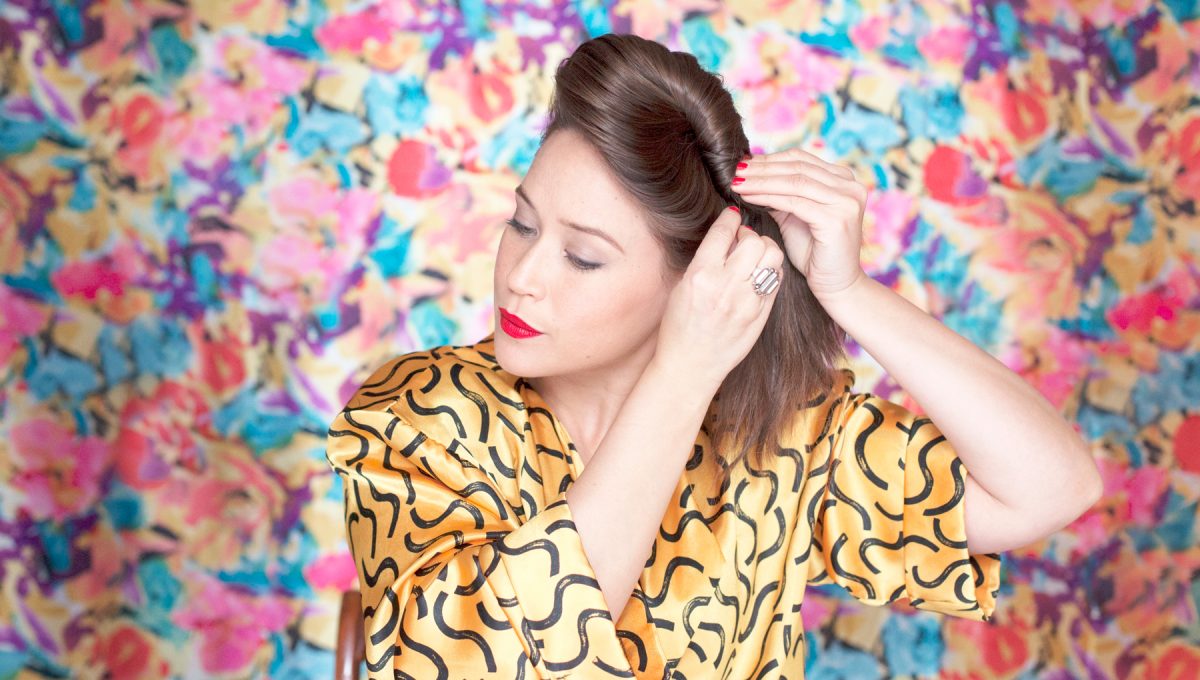
Step 2 | Push the twist down to your scalp and make a bun right behind your ear
Slide the twist a couple of inches toward the opposite side of your head before you make a bun and pin it. The longer the twist you make, the farther you can slide it. The farther you slide it, the more volume your twist will have. Secure the base of the twist by pushing pins into it, then make a bun and use – surprise! – more pins to hold it in place.
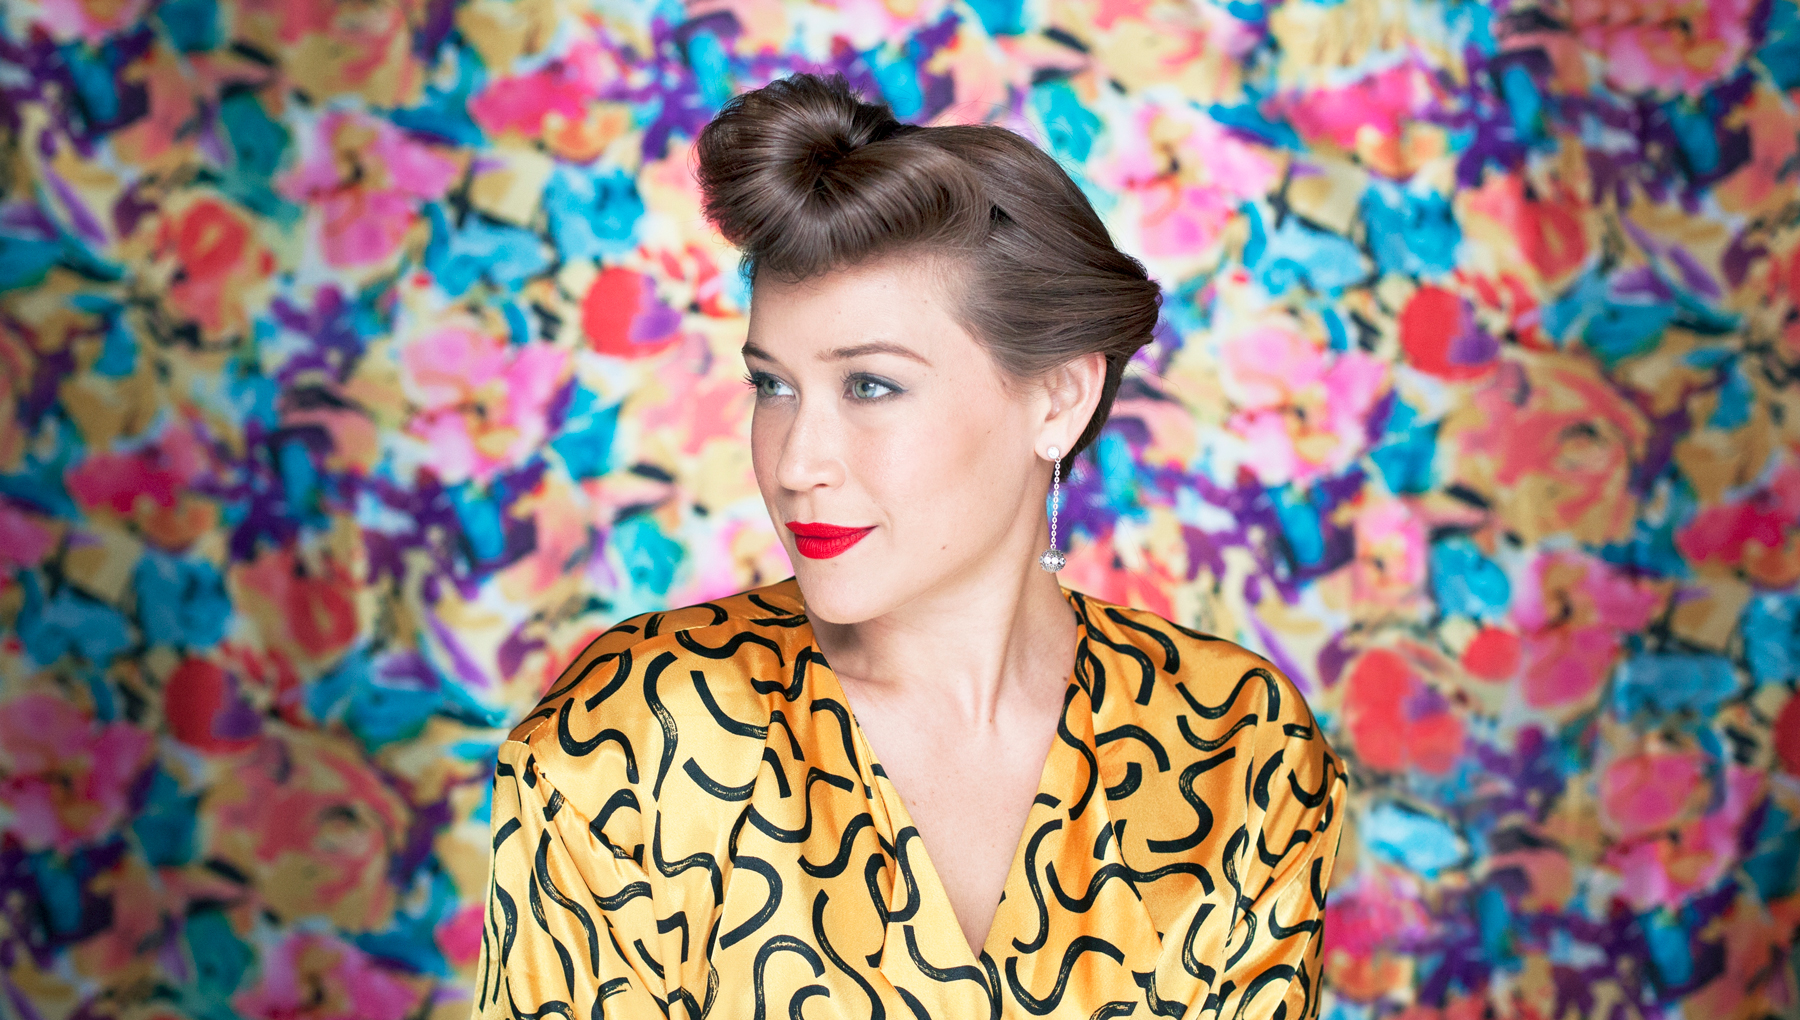
The Gibson Girl Top Knot
Wear a tight top knot 24/7? Soften it up, Victorian style. Start the tutorial →
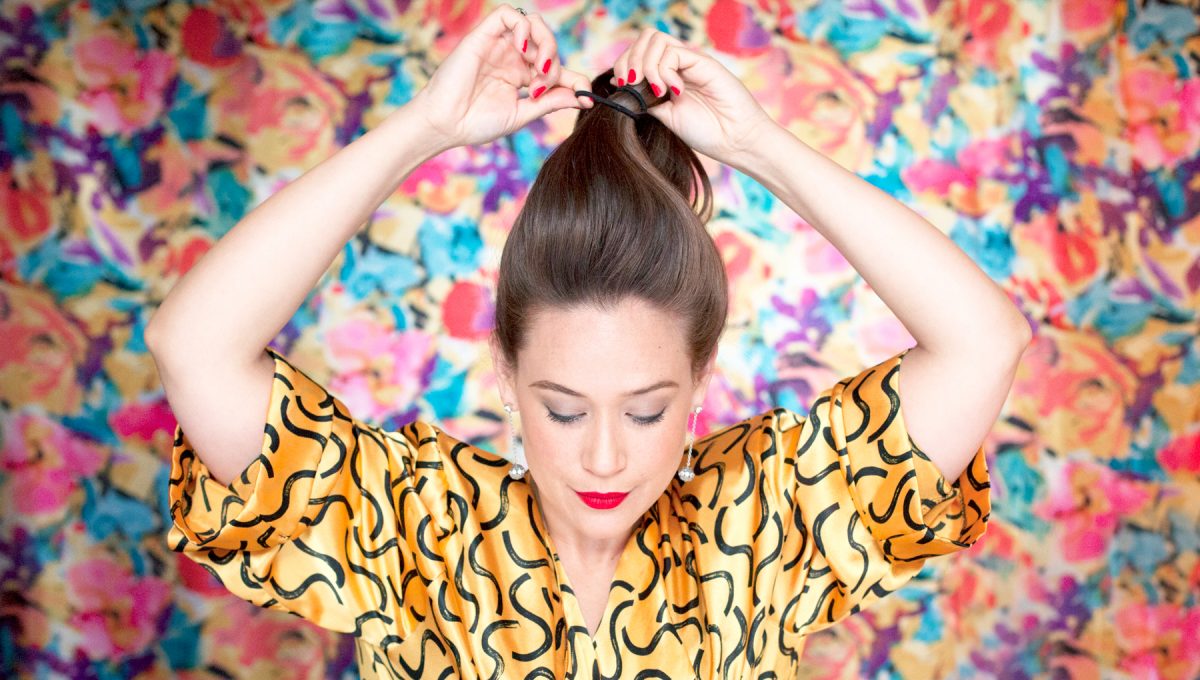
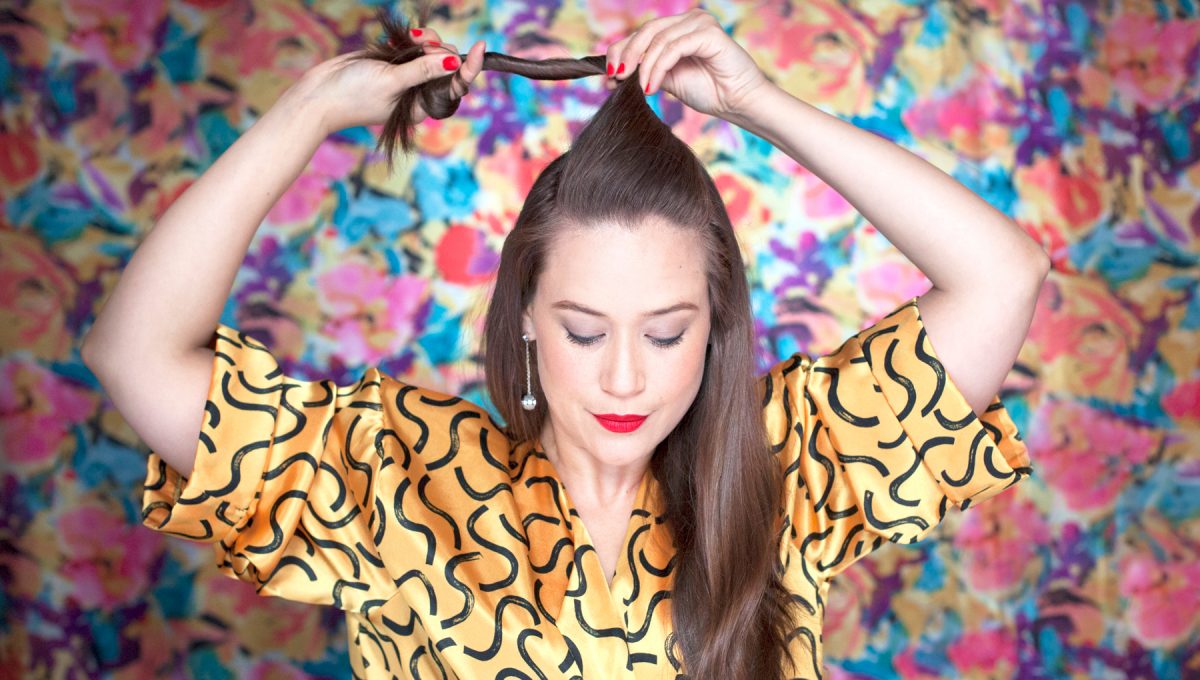
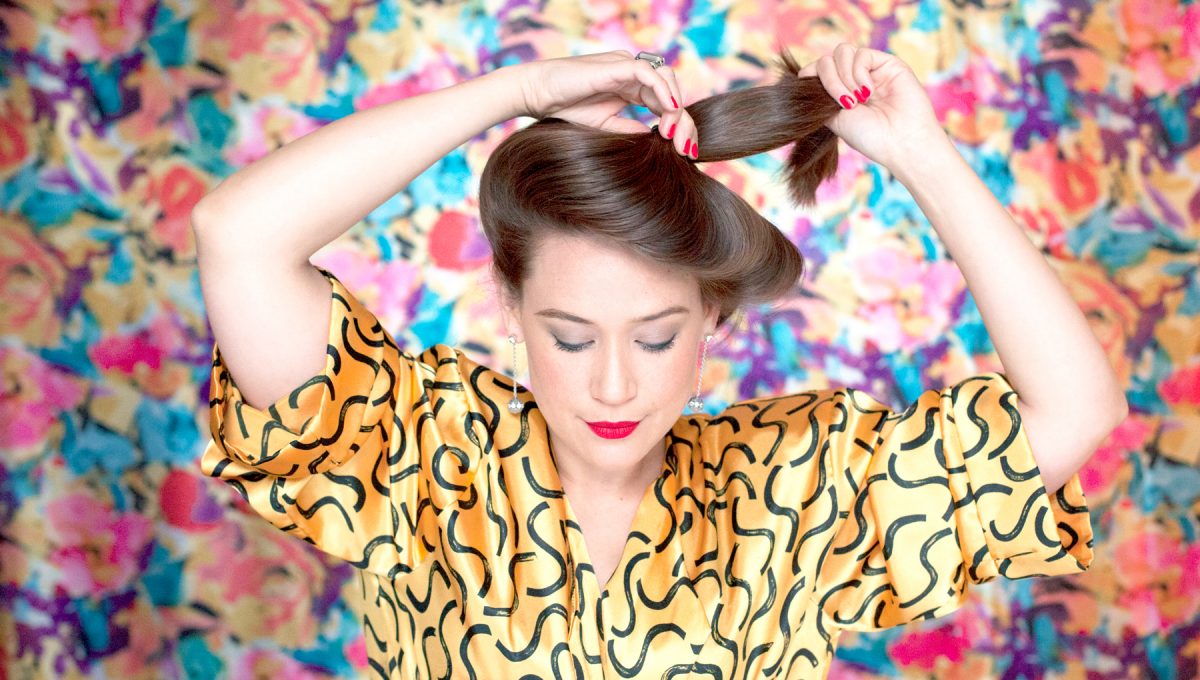
Step 1 | Flip your head upside down and pull your hair into a high ponytail
Slide your hair band up toward the ceiling a few inches, so the base of the ponytail is now suspended above your head a few inches.
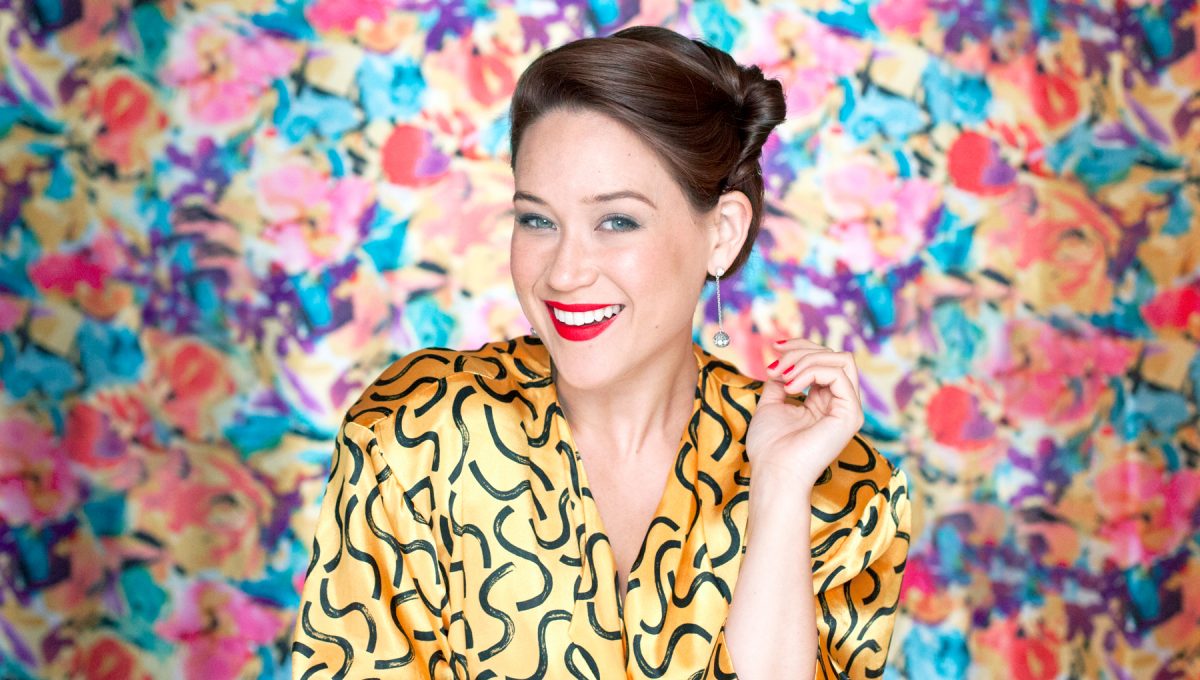
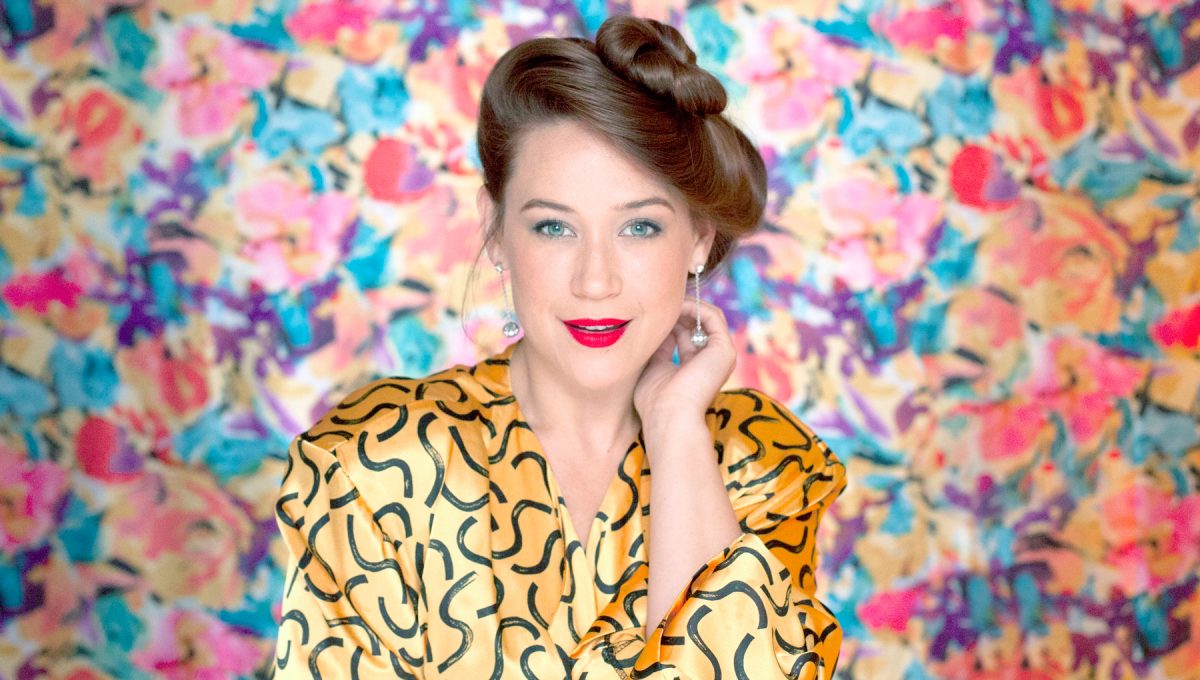
Step 2 | Bring the ponytail base directly down and roll the tail into a bun
Move the ponytail base a couple of inches to one side, so it’s slightly off center. There will be some pouf action going on – that's what you want. Roll the tail around into a bun, move it to the place you want at the crown of your head, and secure it with pins. Pull a small tendril of hair down in front of each ear to add a little romance.
A few takeaways, as promised:
• The key is figuring out what twists and pins work best for your hair type. For example, if you have thick, heavy hair, jumbo bobby pins might work better than regular ones; if you have curls, wire U-pins might do the job. I use a combination of all three, depending on how my hair’s behaving that day.
• Just-washed hair can be slippery, so instead, try these styles on day-old hair or, at the very least, adding some product (hairspray, texturizing spray, or styling crème) to add texture before you start.
• To pump up the volume, skip backcombing, which damages your hair over time, and use my secret weapon: Schwartzkopf OSIS+ Dust It, which a hairstylist clued me into a few years ago. A very light sprinkle at the roots instantly adds some grit and volume to any hairstyle, no matter what hair type you’re working with.
• I’ve found that if you think of your hair as a sculpture (no, seriously), the results are always better. Just see how your hair wants to move at that particular time – don’t force it into a shape it doesn’t want to go into – and you’ll always end up with a unique style that looks stellar on you.
_______
Words, tutorials, styling, hair, makeup, and photography: Larkin Clark